
No battlefield looks complete without scenery, and your beautifully painted armies need somewhere spectacular to fight, and I’m here to show you how I have painted some of my own. I’ve used this method on Warhammer Age of Sigmar scenery, as I had to paint some for a tournament I was heading to, and this is what inspired me to create a quick and easy paint scheme to make sure I had it done in plenty of time before the big day! The colours and method, however, transfer very easily to Warhammer 40,000 scenery, and you can even use different colours to change the look. I chose a green scheme, as this would help my models stand out when the time came for games!
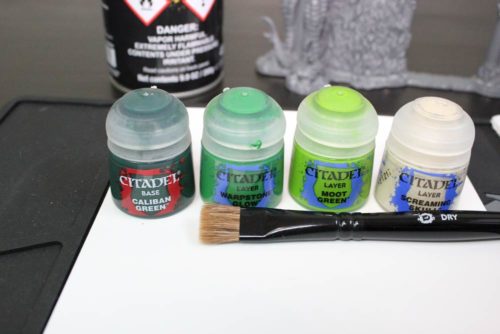
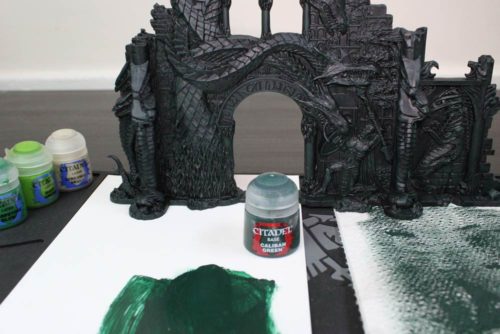
Step 1: Probably the most important step is to make sure you have all the paints and brushes needed! I managed to do all of this with a Large Dry brush, although you may feel more comfortable using a Medium Dry brush on smaller pieces of scenery.
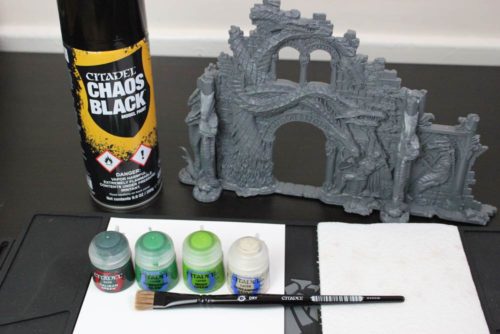
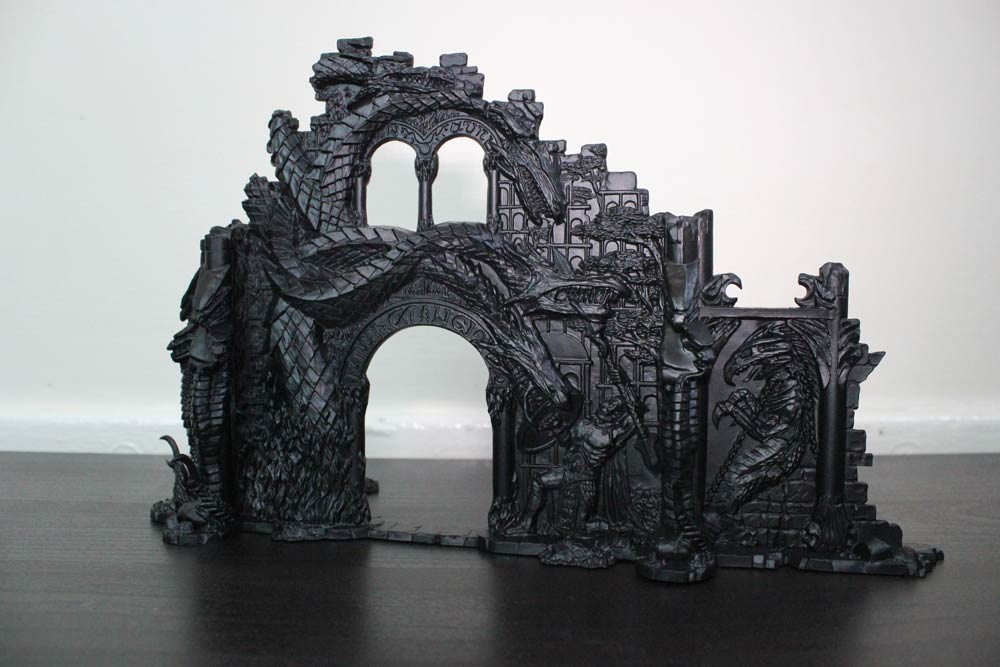
I used Chaos Black spray to undercoat the scenery, as the stages I used take advantage of the natural shading of the black base coat.
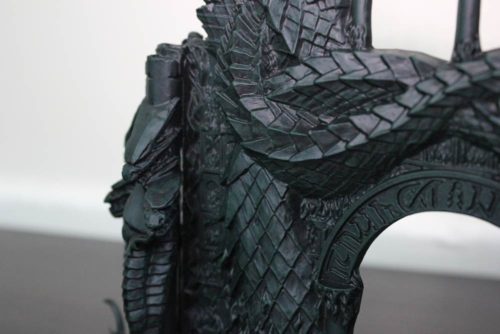
Step 2: Paint the whole piece of scenery with a heavy drybrush of Caliban Green. I used both a Palette Pad and kitchen roll to make sure I have control over how much paint is on the brush. Remember, you can always add more paint, but you can’t take it away!
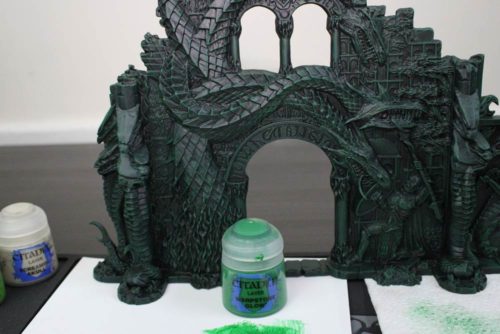
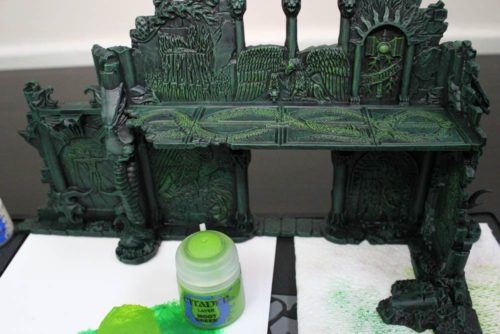
Step 3: Drybrush the whole piece again but this time with Warpstone Glow. This is a lighter drybrush this time, focusing more on the higher extremities.
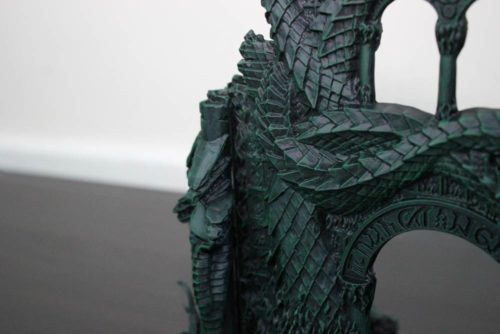
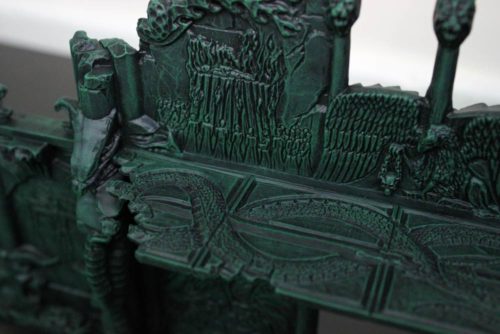
Step 4: Apply a very light drybrush of Moot Green on areas you wish to stand out a little more. I have focused mainly on the floor panelling and the wall art.
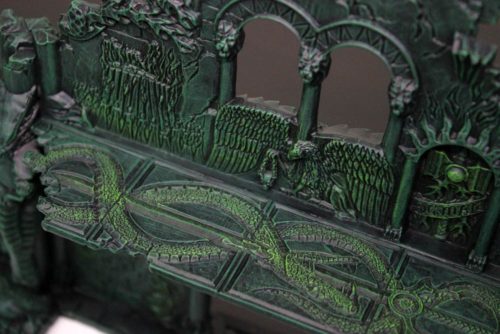
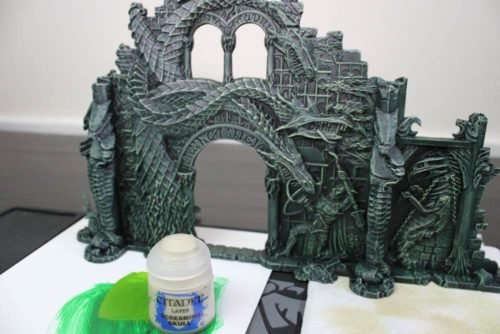
Step 5: Give the whole piece a final very light drybrush of Screaming Skull. I have avoided some of the bigger wall panels and focussed mainly on the brickwork and artwork areas as I wanted these to stand out more.
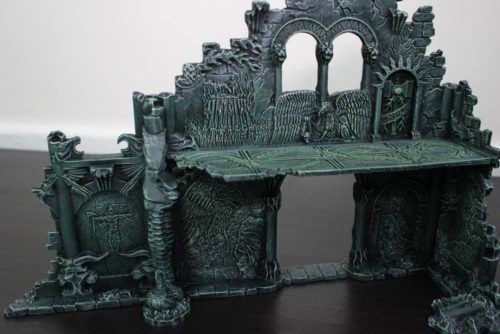
And there we have it! The same method can be used for any of the Warhammer Age of Sigmar scenery, and you can see I have added extra details to some of the other pieces. The domes on the Numinous Occulum were basecoated with Leadbelcher and shaded with Biel-tan Green.

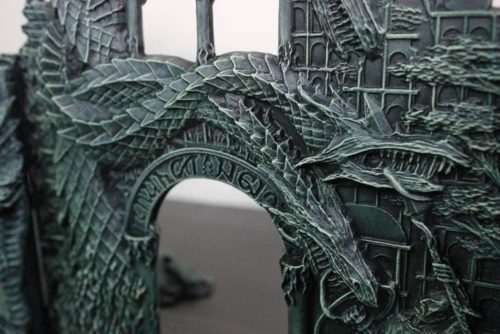
The Realmgates were very easy to do, with a few extra steps to get the flickering flames coming out of the gate. First up was to paint the whole area of flames with Warpstone Glow. You can apply a few thin coats of this depending on how bright you want it to look. I then built up the colour, gradually making my way to the centre, first up using Moot Green, followed by Yriel Yellow and eventually a light drybrush on the very extremes using Flash Gitz Yellow. By continuing the green tones, it ties each of the pieces of scenery together nicely and looks great when they are all added to a battlefield!