
Decals are a fantastic tool in the Wargame Painters Arsenal, they have the ability to elevate a model from good to fantastic, or add story and depth to the model. However I see a lot of people avoid them like a plague and I started asking why? Well most responses I got were to the tune of “I’ve tried them, but cant get them to sit flush.”. So the aim of this tutorial is to help you up your game with them without the need for slicing them or arguing with the sometimes awkward shape of the model you are sticking them to. Just a little bit of some fancy chemical and a small brush and hey presto! You’ll have smooth looking transfers in no time.
But why don’t I just freehand it? Of course you can! That’s an option, however some people don’t want to try it just yet, or would rather use the speed of a transfer to have a unit finished. Transfers are simply alternative solutions to freehanding, that generally speaking are faster and can have a more consistent finish.
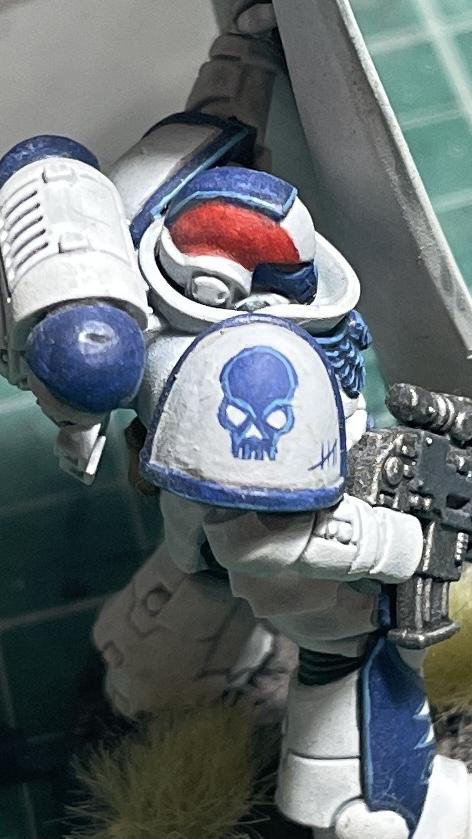
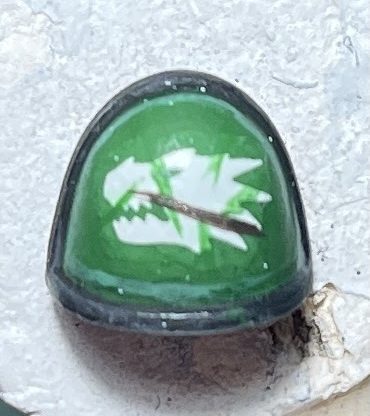
But my squad markings use a different colour than what is provided? No worries! For one of my own projects my squad markings are in blue. So I apply the transfer as a template then paint over with my preferred colour. By applying the transfer first, the scale of my coloured squad marking is perfect every time! (well, at least every time I can hold the brush steady enough) In fact, here is an example taken from my Star Sentinels chapter!
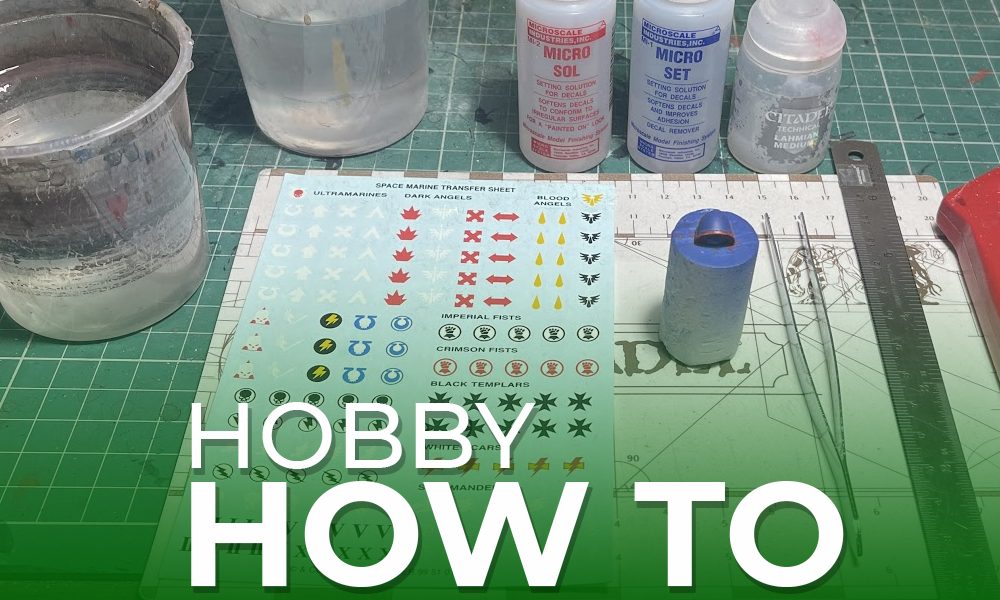
Fancy chemical eh? What’s that then? Glad you asked! It’s easily one of the most useful things I have on my painting station. It is called MicroSet and MicroSol from Microscale Industries. MicroSet Softens the decals slightly and allows them to better adhere to the model, whilst the finish of it is a matte finish, giving it a “painted on” look. Microsol is the next level of this, where it has a harsher softening of the decal. Thus allowing it to conform to 3D shapes better. Vallejo also does a Decal Softener that works in the same way, available from here.
When applying a transfer I make sure I have the following to hand when I start.
- Sharp Hobby Knife
- Steel Ruler (optional)
- Tweezers
- Size 1 brush
- Small Drybrush/firm bristled brush
- Microset and Microsol
- 2 pots of water – One for Cleaning the brush, one for Dunking the transfers
- Model and Transfers!
- Lahmian Medium

Once you have all the above to hand simply follow the steps below!
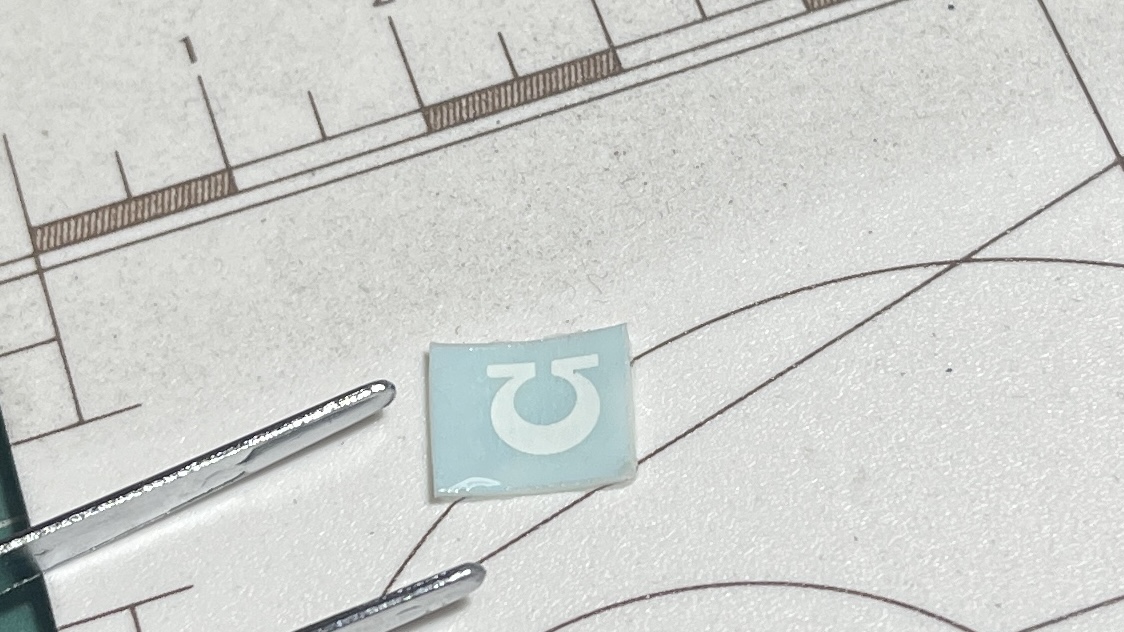
Step 1
Using the sharp hobby knife and ruler, cut the transfer from the pack, leave a small section of you to hold the transfer with your tweezers. (younguns, have a parent do this bit for you!)

Step 2
Dunk the model into the water, place it to the side to allow the water to begin lifting the transfer. Don’t hold the transfer under water as this can cause the decal to slide off the paper.
Step 3
Whilst the transfer is soaking, gently place a thick layer of microset onto the area you wish to place the transfer.

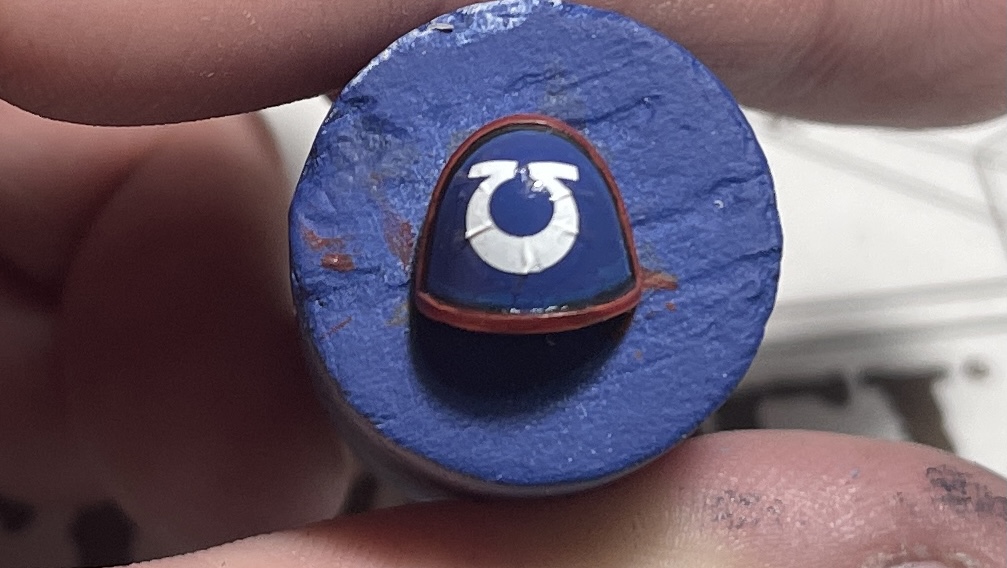
Step 4
Using the tweezers and your brush, gently move the transfer from the paper into position on the area you wish for it to be. Carefully position your transfer, then using a dry brush, soak up the excess liquids.

Step 5
Let the Microset dry and then gently apply a thin layer of microsol over the transfer and leave it for approx 30 seconds for the magic to happen.

Step 6
Using your drybrush, and starting from the centre of the mini gently brush out towards the edge of the transfer. Your dry brush will soak up any excess microsol whilst stretching the softened transfer over the shape of the area you are applying it to.

Step 7
If the decal is still a little bumpy then repeat step 5 and 6 as many times as needed until the transfer sits smooth.
Step 8
Microsol is a satin finish, so if you want a matte finish, then simply put a thin layer of Lahmian Medium over the top to both seal the transfer in place.

Once this is done, the transfer is finished and can now be weathered or left to stand out proud on the model!
Many thanks to HouseFireHawk for the tutorial! Keep an eye out for future Hobby How To articles!