
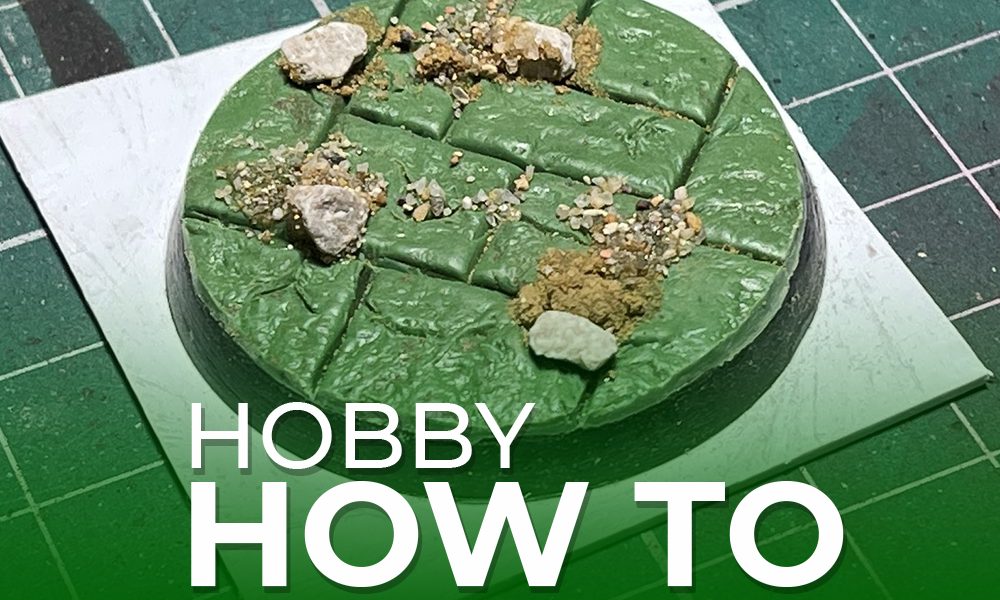
HouseFireHawk has written a great tutorial for using greenstuff! Let’s have a look at what we can easily replicate!
Sculpting can be a daunting process for hobbyists who have not tried it before. So the idea behind this tutorial is to introduce people who are new to the skill or looking for some tips on handling it. I have decided to go with a simple base design that can be practiced again and again until you feel more confident to look at next steps.
Before I get into the actual tutorial, I feel I do need to explain the difference between Green Stuff and Milliput (sometimes known as white stuff). Green stuff is slightly stickier when its mixed and curing making it slightly harder to work with as it can stick to your tools and fingers as you work, however once cured it will set hard enough that it won’t snap on fine detail and have a slight “give” when pressure is applied, this makes it perfect for very fine details. Milliput is slightly less sticky when being worked and much easier to apply, however when it finally sets it is slightly more brittle making it relatively unsuitable for very fine details. Milliput is more often used as a basing material or for larger areas without much detail (for example the base of an entire sculpt, with green stuff on top for the details). In terms of how they work, the tutorial ahead has techniques and tips that apply for both materials.
Tips for your fingers and tools! A very good practice to use when working with sculpting putties is to have your fingers and tools damp whilst handling the item. This will prevent the putties from sticking to your fingers. At all points in this tutorial, assume that my fingers or tools are slightly wet. Please note however, that excessive liquid on the putties can cause the details being worked to run and distort, so have your fingers and tools damp but not soaking, if the putty is still sticking to your fingers, simply add a drop more water to your tools.
IMPORTANT! – Younguns, for this tutorial we will be working with knives, so please have a responsible adult present!
Equipment
Piece of Paper and Pencil
Threading Needle
Couple of gravel stones – The ones I used I simply took from my garden and washed before using!
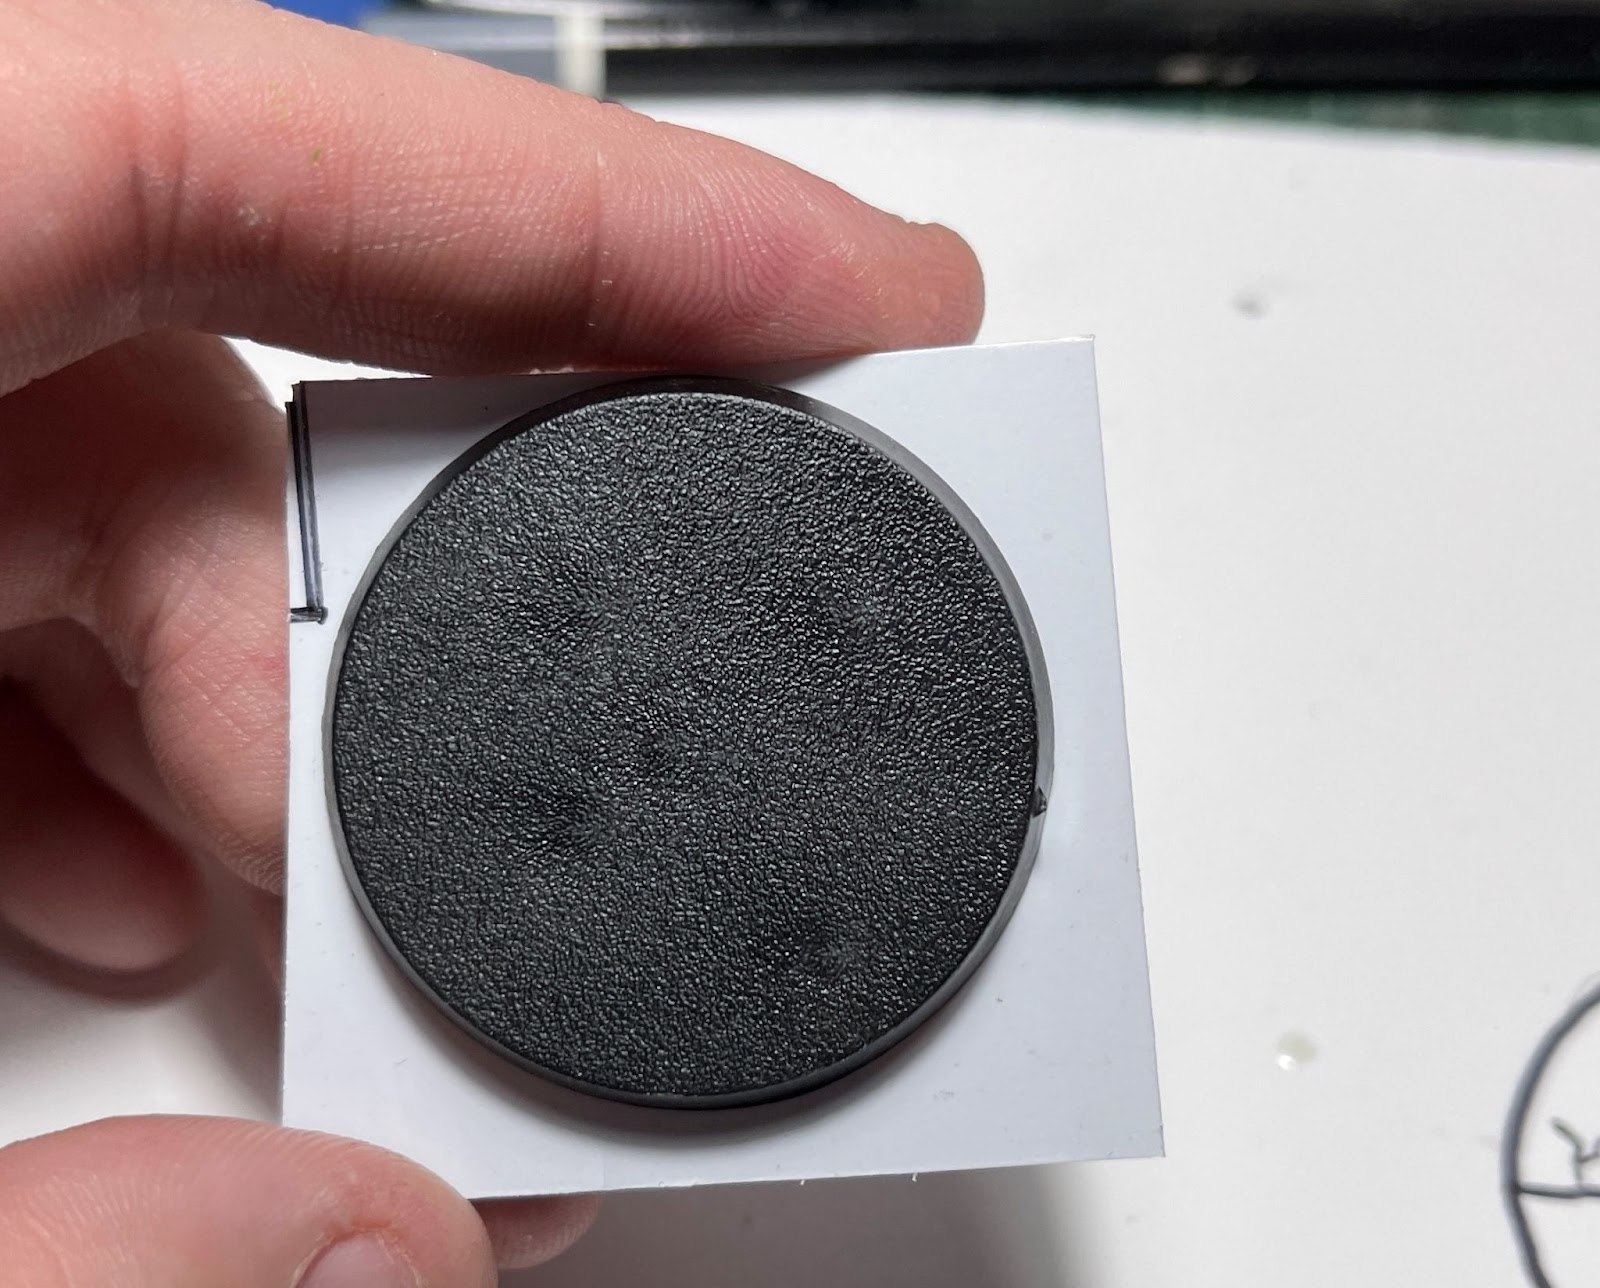
Base
Flat panel to hold the base – For this I simply took a small piece of 3MM plasticard cut to be slightly bigger than the base I was working on.
Clean pot of water

Steps
1 – Trace a base onto a piece of paper, and put a basic design on the paper. – this is to give you a rough plan as to what you’re sculpting, I’ve inked over mine to make it clear for the picture, but you shouldn’t need to.

2 – Tac the base to its mount – this will make it easier to hold while you are sculpting
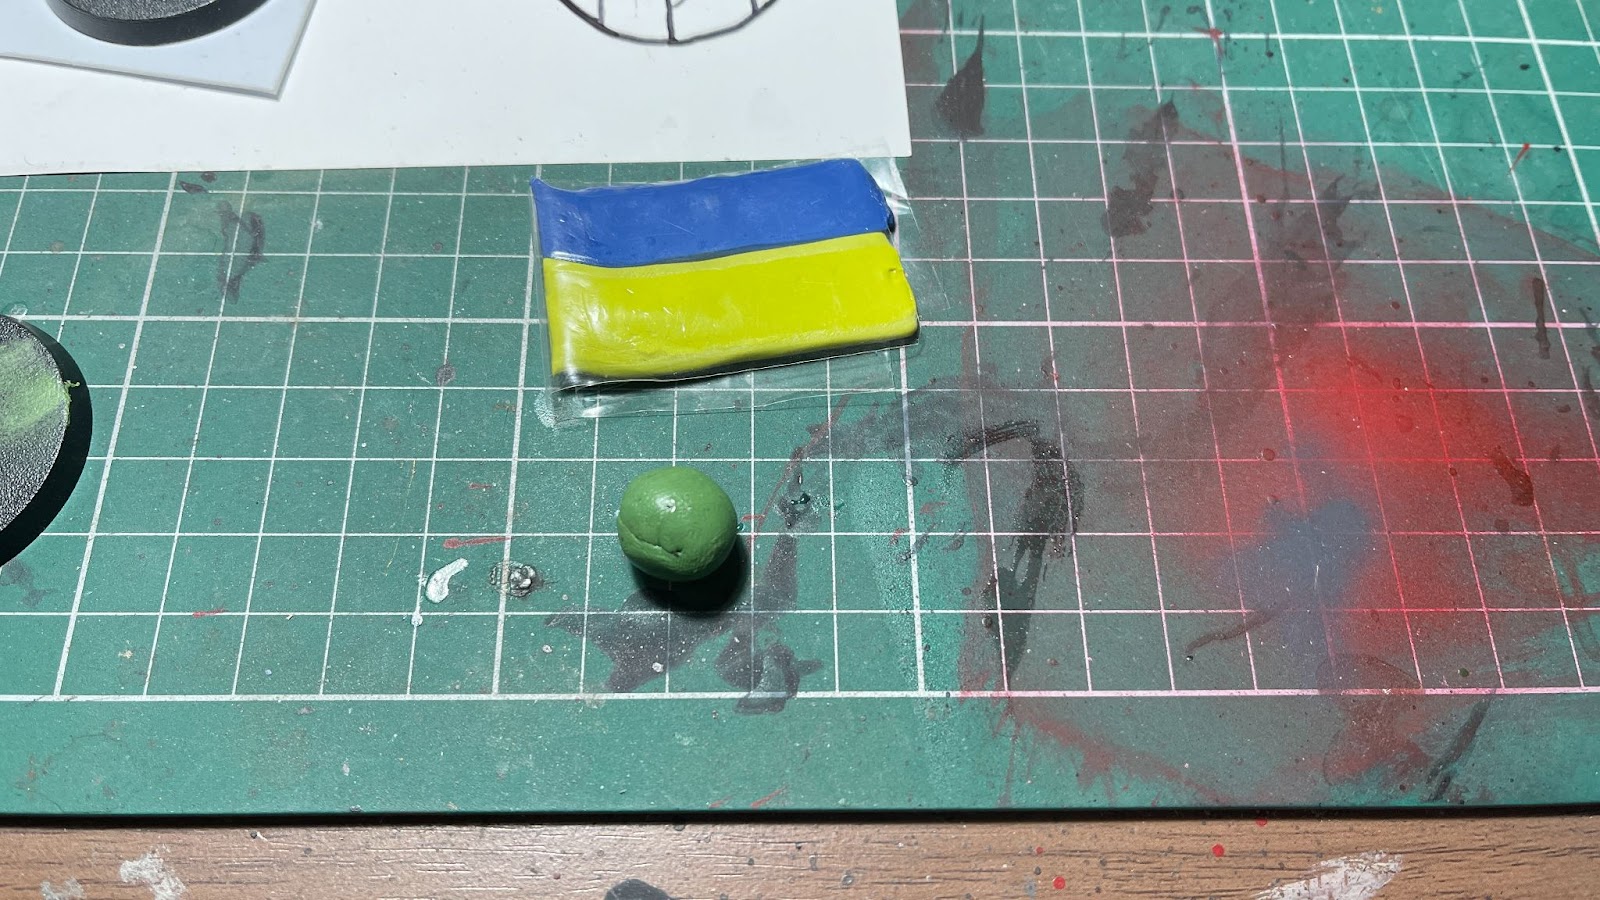
3 – Roll a ball of greenstuff, 1:1 mix of Yellow and Blue. I always roll a bit more than necessary.
4 – Gently flatten the Green stuff onto your base. Don’t need to flatten it equally, or roll it out to help with the irregular shape of paving stones. It also doesn’t matter if the excess flows over the edge of the base. We shall sort that later!
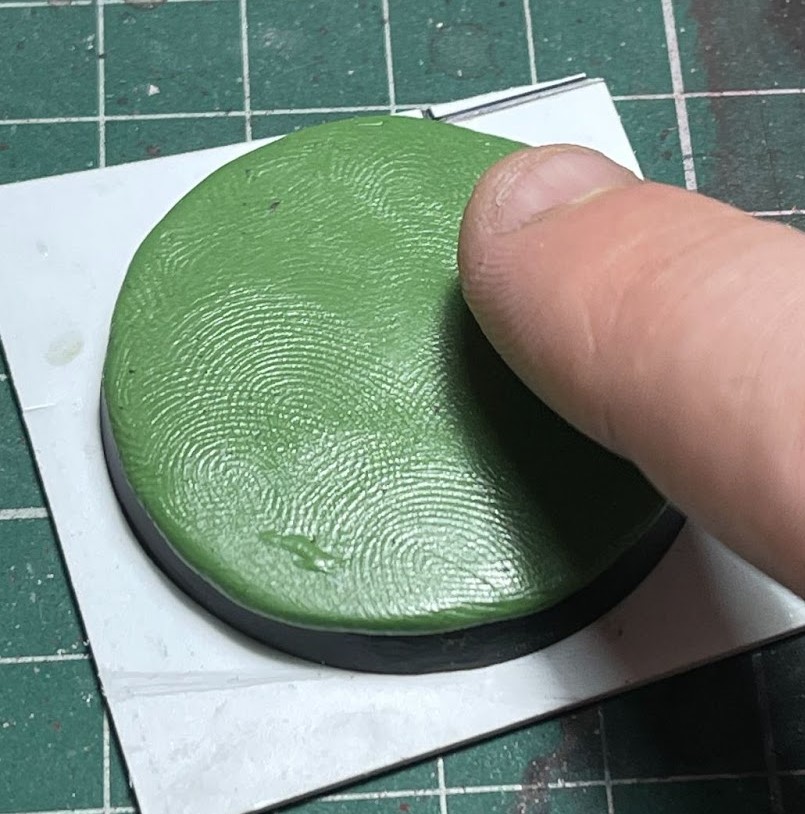
5 – Using your finger, use the oil from your skin and gently smooth out the greenstuff with your finger in circular motions.

6 – Take your rocks and gently press them into the greenstuff to create the stone texture, try and make this random. If you feel you have overdone it, simply push the green stuff back to smooth from step 4 and try again!

7 – Leave the base to set for 30 minutes. This will mean the green stuff partly sets and makes the next steps easier.
8 – Using your paper design, gently cut the shapes into the green stuff base with your sharp hobby knife. Using your knife and sculpting tool to create a full crack in the paving stone and gently remove the green stuff to create the appearance of a missing piece of paving stone. If you slip into a different slab by accident, don’t worry we can tidy that up later!
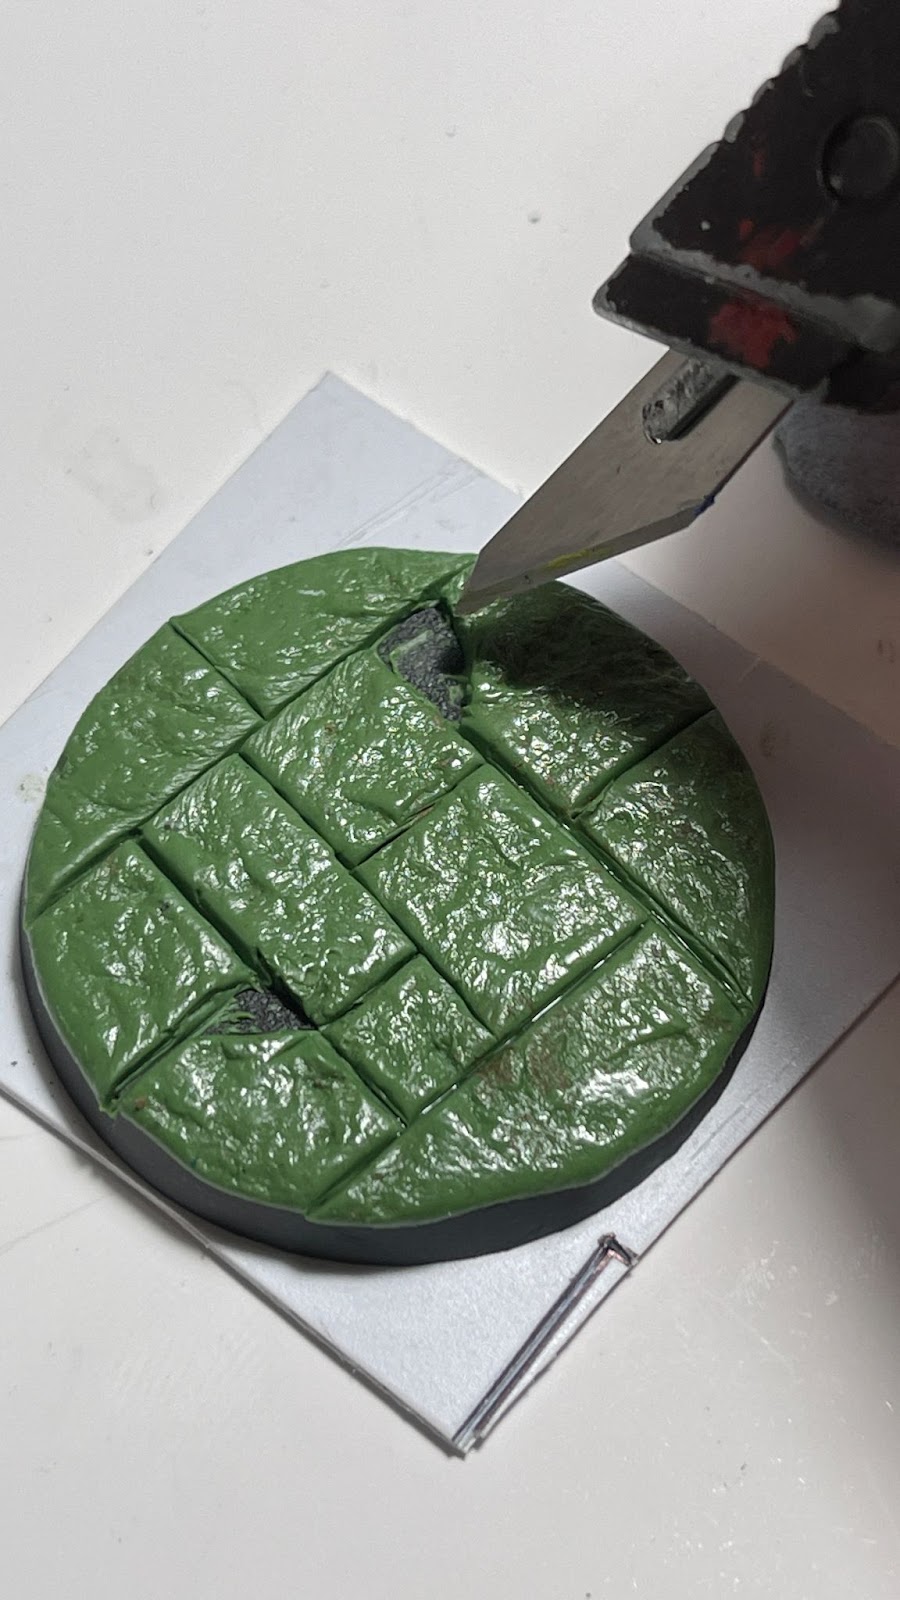
9 – Using the flat sculpting tool gently expand the cuts to create the gaps between the paving slabs.
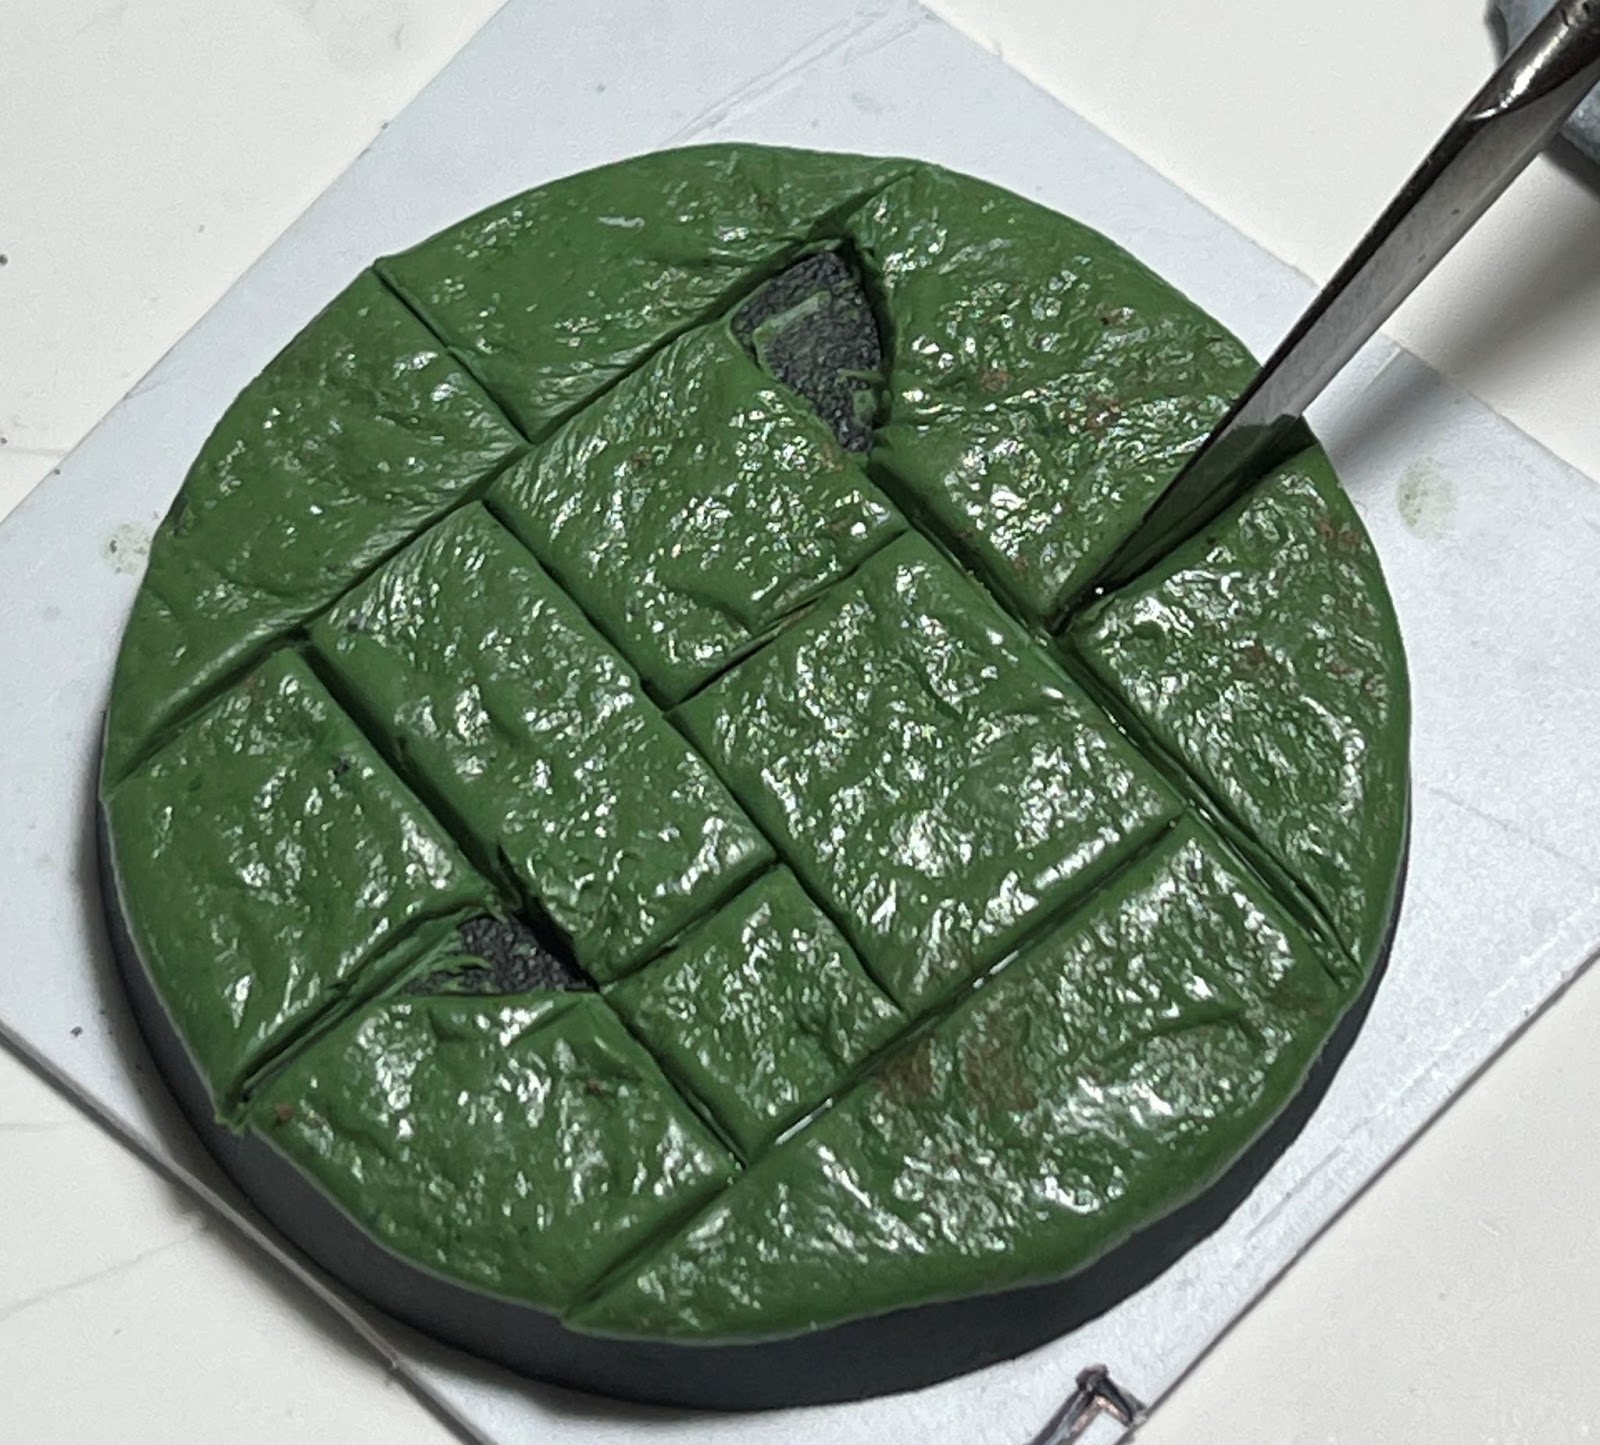
10 – Using a fine needle gently gouge small cracks into the paving slab.

11 – Leave for 12 hours for the green stuff to finish setting, and Then using your sharp hobby knife, gently cut the excess green stuff off the edge of the base. Finally sand the surrounding smooth to make it flush with the rim of the base.
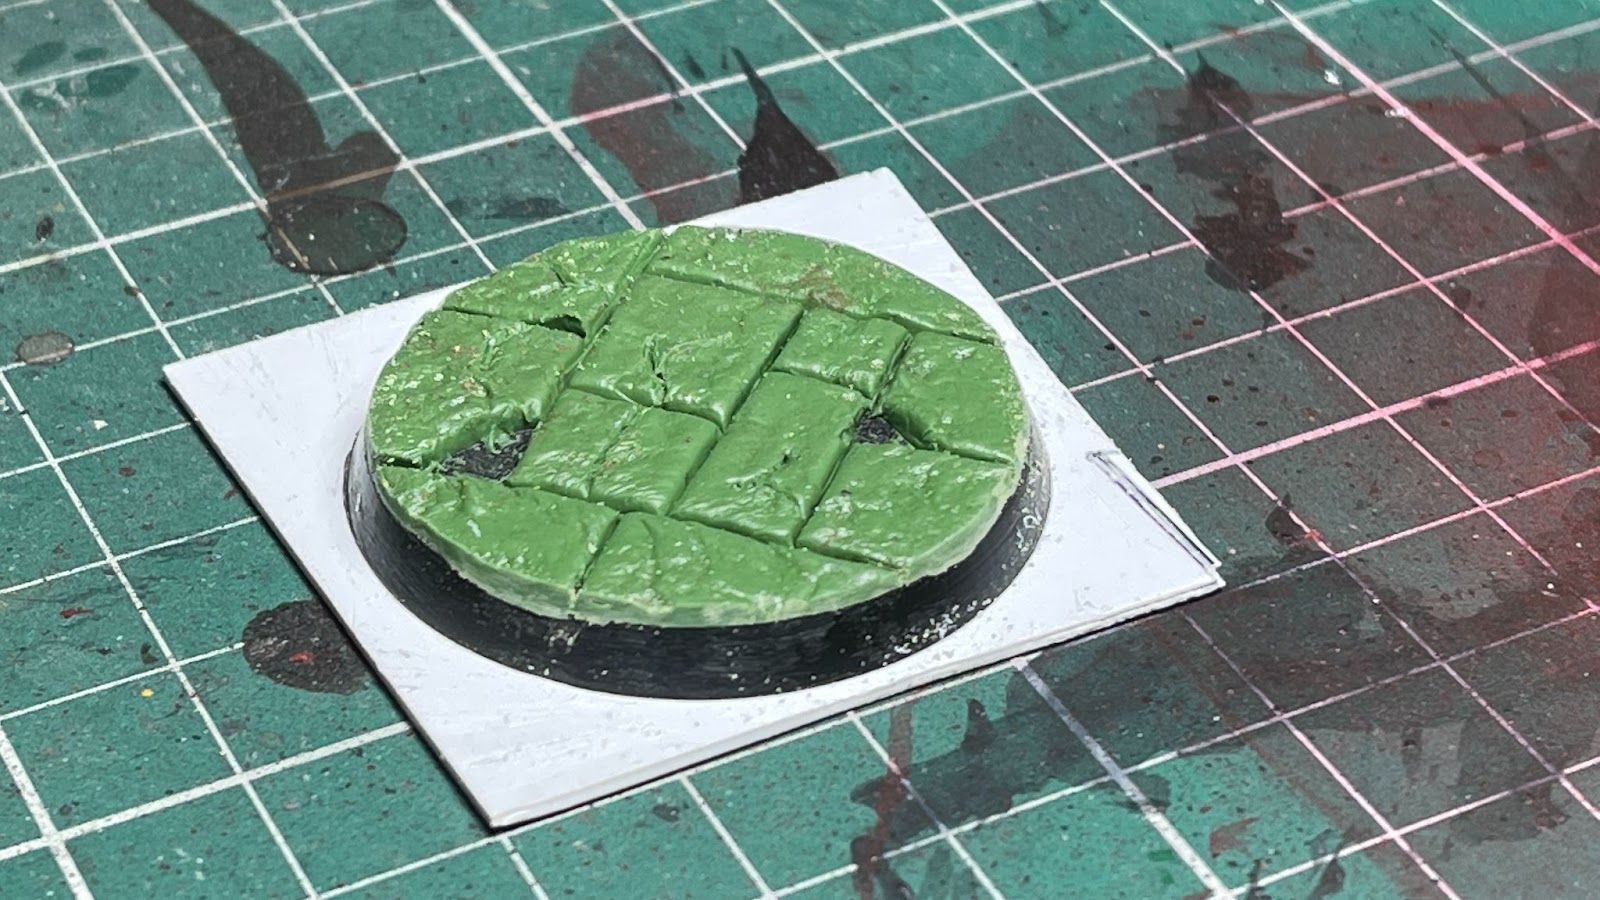
12 – On the remaining area of the base where you can still see the original base, pva and glue additional sand and small stones to the base

PAINTING tips!
For the blue gloomy stone shown here.

1 – Spray the entire base Citadel Standard Mechanicus Gray
2 – Wash the entire base with Citadel Drakenhof Nightshade
3 – Drybrush Citadel Stormfang
4 – Apply appropriate Grass tufts
As always have fun with this and if you need assistance simply drop me a line in The Hobby Room Discord 🙂
Many thanks to HouseFireHawk for a great tutorial!


One thought on “Intro to Greenstuff – Pavements”